'Buzzing Burglar Alarm' Project
The 5/6 girls were able to design and create a 'burglar alarm' buzzing electrical circuit!! They worked with screws, washers, wires, buzzers, batteries and their VERY own unique switches! Here are their successful final products!!
Science Experiment Homework
BrainPOP- Property Changes
Do you know the difference between a chemical change and a physical one? Find out in this animated BrainPOP movie.
Complete the quiz at the end as well!!
Complete the quiz at the end as well!!

BrainPOP- Matter Changing State
How are gases, liquids, and solids different? Find out in this BrainPOP movie.

Gami Videos!

A fantastic effort from the entire class to complete this assignment. I couldn't possibly put them all up on here, so I have uploaded three full versions and then some snippets of a couple more.
Enjoy!!
Enjoy!!
Gami News Report- Student 1
Gami News Report- Student 2
Gami News Report- Student 3
Snippets:
Assignment 1 (News Report) and 2 (Gami Videos)
Plate Movement- Student Presentations
Today we looked at the three ways plates move: divergent, convergent and transform. Students were able to model this using playdough. Have a look at the presentations below!
Science Holiday Homework
| Science Experiment.jpeg |
Fungi Review Task
Students are reminded that the task below is due on Monday, 25th March (Week 9).
Don't forget to take a screen capture of your final product and then send this popplet as a picture to my email address: [email protected]
Don't forget to take a screen capture of your final product and then send this popplet as a picture to my email address: [email protected]
| fungi_research_activity.docx |
The Science of Yeast
There are many types of baking yeast available. These include fresh yeast, active dry yeast, quick-rise yeast, and instant yeast. For this lesson, students focused on the active dry yeast which is available in most supermarkets. The aim was to find out which conditions made yeast most active: warm or cold water? adding sugar or plain?
The scientific name for the active dry yeast is called Saccharomyces Cerevisiae, also known as “sugar-eating fungus.” This is a strong variety of yeast and it is responsible for fermentation. Fermentation is the step when the yeast makes carbon dioxide (bubbles of gas) in the bread making process.
Yeast gets energy from its favorite source of food in the form of sugar. Today, we used raw sugar.
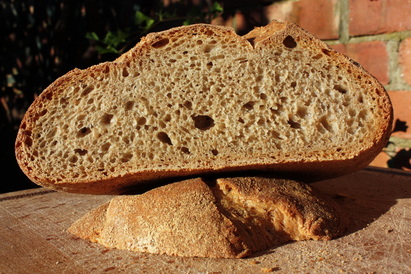
The yeast love to be able to eat their favorite sugar in a warm, moist environment. As the yeast munch away on their sugar, chemical reactions take place where alcohol and carbon dioxide are produced. The carbon dioxide gas is trapped in the rising bread, which is what causes the bread dough to rise, leaving behind a large amount of air pockets in the dough. The yeast eventually dies off, from the heat when baking, and any remaining alcohol evaporates (completely vanishes).
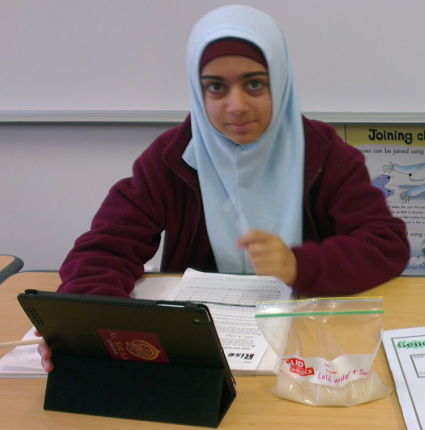
It was clear as crystal that a WARM environment and adding SUGAR were optimal environmental conditions yeast to be active and for the most reaction! Students were able to observe the many bubbles that formed over a 30 min period in the 'warm water-sugar' Ziploc bag.
Below are some pictures of students at work in the class. I can safely say that the results were AMAZING and the entire class enjoyed watching and comparing each others samples.
The scientific name for the active dry yeast is called Saccharomyces Cerevisiae, also known as “sugar-eating fungus.” This is a strong variety of yeast and it is responsible for fermentation. Fermentation is the step when the yeast makes carbon dioxide (bubbles of gas) in the bread making process.
Yeast gets energy from its favorite source of food in the form of sugar. Today, we used raw sugar.
The yeast love to be able to eat their favorite sugar in a warm, moist environment. As the yeast munch away on their sugar, chemical reactions take place where alcohol and carbon dioxide are produced. The carbon dioxide gas is trapped in the rising bread, which is what causes the bread dough to rise, leaving behind a large amount of air pockets in the dough. The yeast eventually dies off, from the heat when baking, and any remaining alcohol evaporates (completely vanishes).
It was clear as crystal that a WARM environment and adding SUGAR were optimal environmental conditions yeast to be active and for the most reaction! Students were able to observe the many bubbles that formed over a 30 min period in the 'warm water-sugar' Ziploc bag.
Below are some pictures of students at work in the class. I can safely say that the results were AMAZING and the entire class enjoyed watching and comparing each others samples.
just recording our observations...
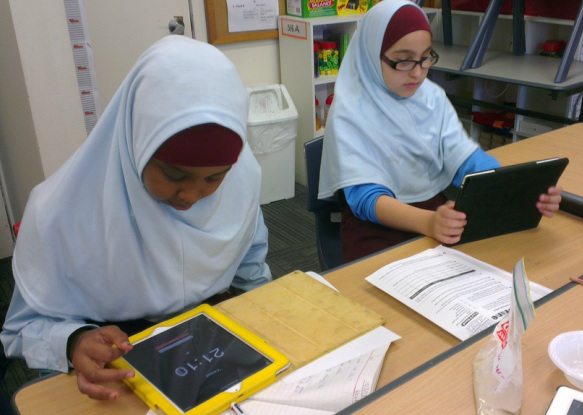
closely watching the time...
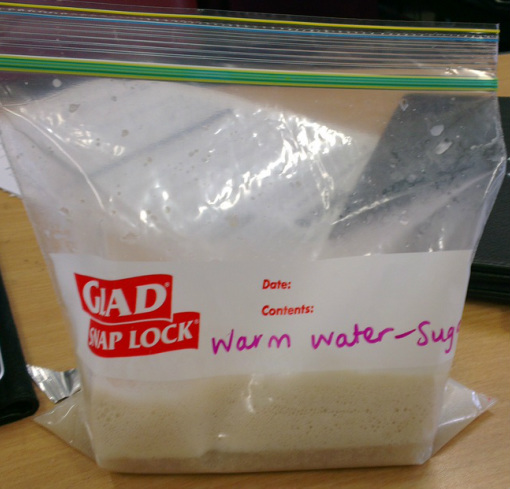
warm water-sugar--> look at all those bubbles of carbon dioxide!!!
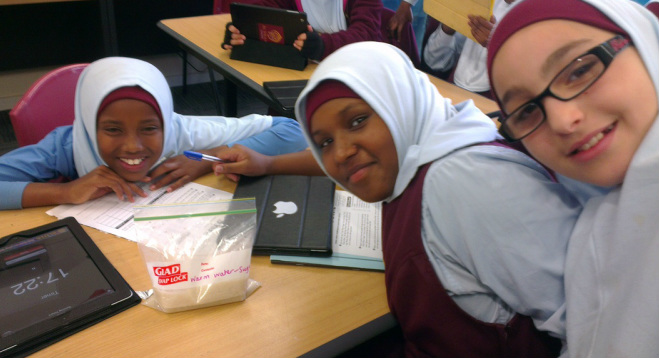
happy chappies! :)
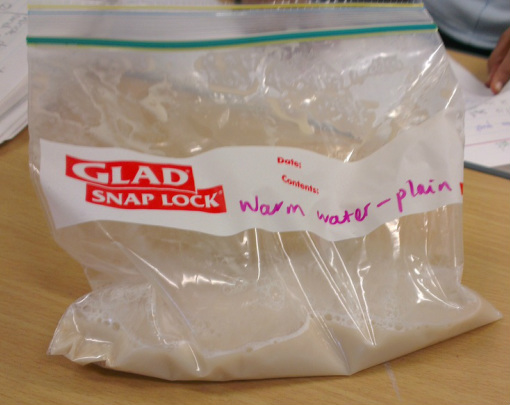
warm water-plain--> not a great reaction there :(
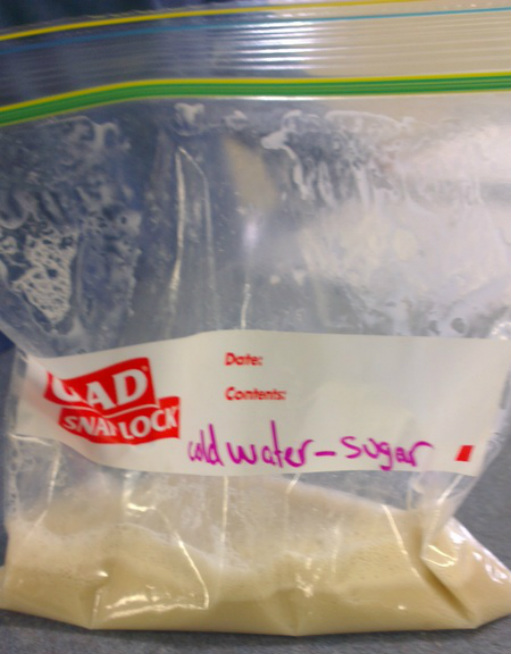
cold water-sugar--> pretty good reaction, but not as good as warm water!!
Mouldy Matters

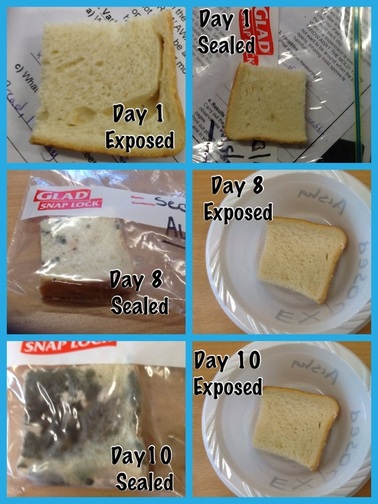
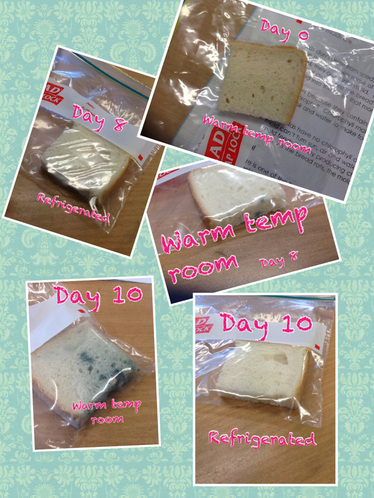
Grade 5/6A have spent 10 days looking at mould growth in different conditions. Groups tested the conditions in which bread mould grew the best and quickest: moist or dry? warm or cold? bright or dark?
Even though our samples of mouldy bread were difficult to look at, the girls studied their samples in each lesson, taking note of appearance of the mould (colour, size, texture), sketching their sample and even taking photos of them!
Students put their pictures into the 'PicCollage' app on their iPads and labelled it by day and condition. These carefully constructed collages are to be placed into the appendix of their written Experiment Report! A great effort from the 5/6A girls!!
Now we all know that mould thrives in MOIST, DARK and WARM areas!! Like every living thing, growth and survival depends on specific environmental conditions.
Looks like the good old bread box just isn't the best place to keep your loaves of bread!
Here are a few samples of student work!
Spread of Infection- Hand and Respiratory Hygiene
To date, grade 5/6a have been investigating three main types of micro-organisms: fungi (including yeasts and moulds), bacteria and viruses. We have learnt that even though we cannot see microbes with the naked eye, they are in fact everywhere!! Yes, I did say EVERYWHERE!! And they are such amazing, teeny tiny living things.
We looked at the 'good guys' and the 'bad guys', understanding that microbes that live in and on us are not so harmful. In fact, they help to protect us from possible infection and disease.
Recently we have been focusing on the spread of infection, through 'dirty' hands and even coughs or sneezes. This is where we had the most fun!
The girls were involved in two experiments, both of which helped the students visualise how we can help control the spread of infection, especially in a school environment, which is a haven for these nasty microbes!
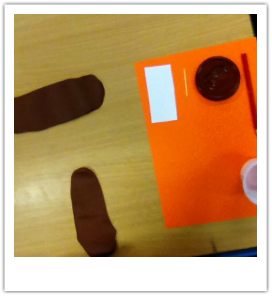
In the first experiment, leader students were selected and asked to coat the palms of their hands with cooking oil (representing the natural oils on our skin) and cover it with glitter (representing the unseen microbes). The leader then student shook hands with the next person, then that person shook hands with the next, and so on. This hand-shaking exercise was a great way to see how microbes spread from person to person through physical contact (direct touching). We then performed a number of hand-washing techniques (cold water, warm water, warm water and soap) and followed the same process. Students then compared the level of spread with each hand-washing technique.
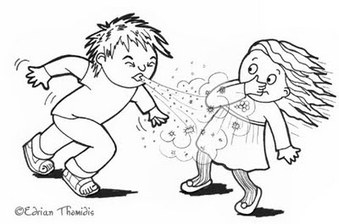
Most recently, the girls looked at how far viruses can travel from an infected person just from a single sneeze and also how best to control the spread of infection (covering mouth with your hand or covering mouth with a tissue).
Below are some pictures of students while performing the experiment.
We looked at the 'good guys' and the 'bad guys', understanding that microbes that live in and on us are not so harmful. In fact, they help to protect us from possible infection and disease.
Recently we have been focusing on the spread of infection, through 'dirty' hands and even coughs or sneezes. This is where we had the most fun!
The girls were involved in two experiments, both of which helped the students visualise how we can help control the spread of infection, especially in a school environment, which is a haven for these nasty microbes!
In the first experiment, leader students were selected and asked to coat the palms of their hands with cooking oil (representing the natural oils on our skin) and cover it with glitter (representing the unseen microbes). The leader then student shook hands with the next person, then that person shook hands with the next, and so on. This hand-shaking exercise was a great way to see how microbes spread from person to person through physical contact (direct touching). We then performed a number of hand-washing techniques (cold water, warm water, warm water and soap) and followed the same process. Students then compared the level of spread with each hand-washing technique.
Most recently, the girls looked at how far viruses can travel from an infected person just from a single sneeze and also how best to control the spread of infection (covering mouth with your hand or covering mouth with a tissue).
Below are some pictures of students while performing the experiment.

Starting the experiment!
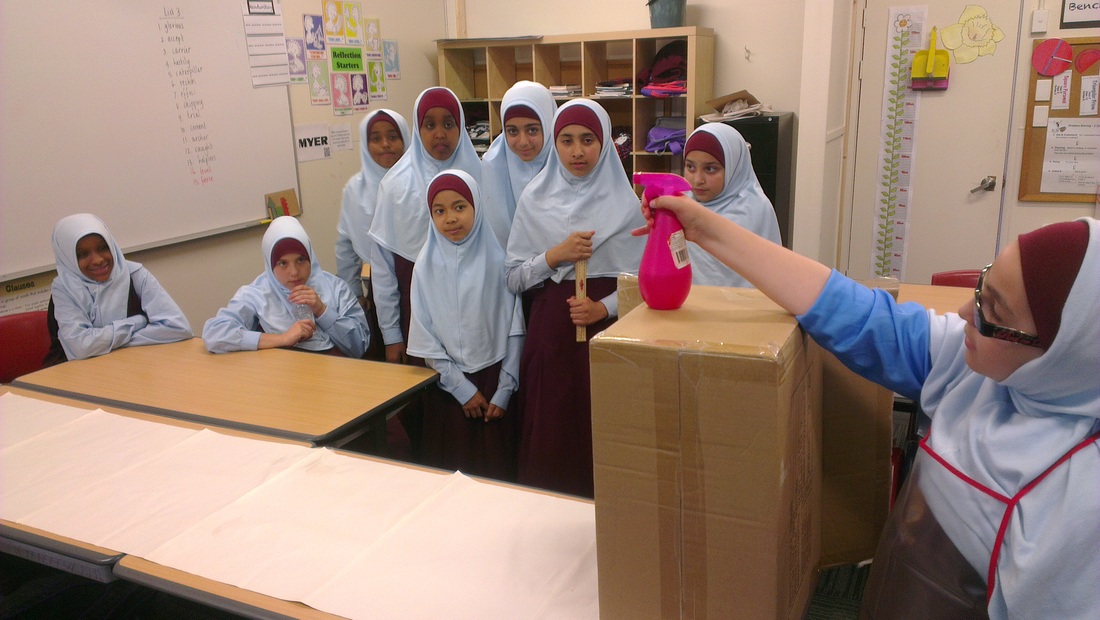
The 'sneeze' (no covering) and the runway
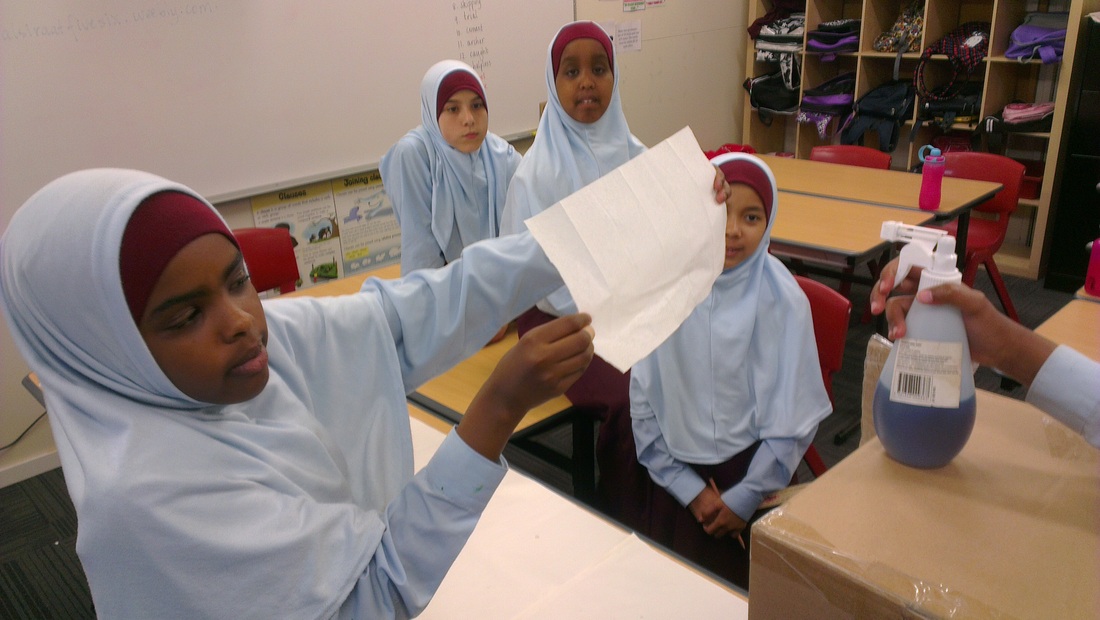
The 'sneeze with tissue'
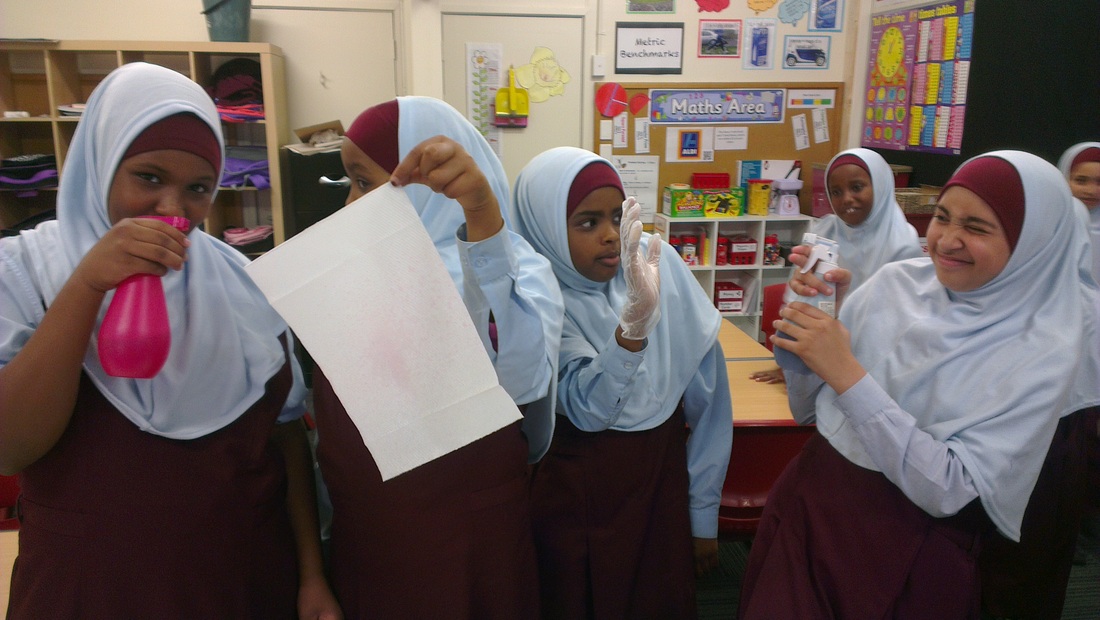
'tissue' covering vs 'hand' covering!!! :)